


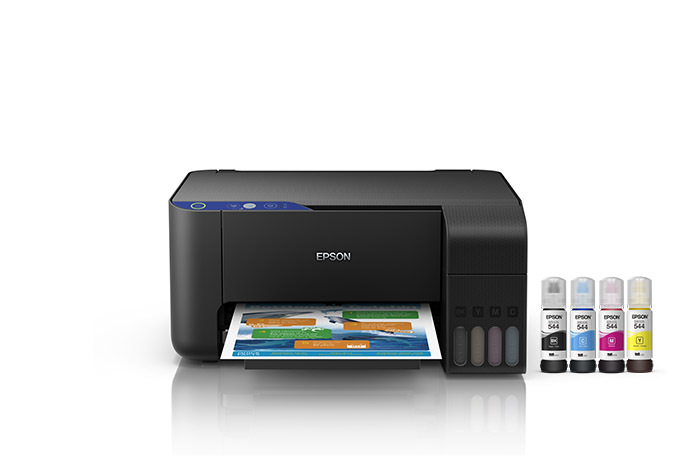
When it comes to making business papers and pictures of high quality, Epson printers are known for being reliable. But even though they work well, people still have trouble with them sometimes cbnc. When you put in a new Epson ink cartridge, your printer may quickly stop writing. This is among the most common issues you may run into with it.
There are numerous causes why your Epson printer might not print after you change the ink or when the ink is full. For the most part, it’s because the Epson printer doesn’t see your ink tank or still thinks it’s empty. Some of the most common reasons for this issue and how to fix each one without using an Epson L3110 resetter adjustment program are shown below.
Common Factors Causing Epson Printer Not Recognizing Cartridges Issue
Here are some of the most common reasons behind the printer not recognizing the cartridge problem.
● The printer or cartridge is dirty or damaged
● The protective tape is still there
● The wrong cartridge is installed
● Outdated printer drivers or firmware
● Cartridge is expired
Now, that you know the factors causing this issue, it’s time to look at their solutions and get rid of it ASAP.
Tips And Tricks To Fix The Printer Not Recognizing Cartridges Problem
Check out some of the most effective and efficient methods to get rid of this printer issue pretty quickly.
Method1: Remove The Protective Taping
As standard, the print nozzle on most ink cartridge products is sealed by a small ring of protective tape. Its primary function is to obstruct the nozzle, preventing ink leakage during storage or shipment of the cartridge.
The ink is unable to flow out of the nozzles of the ink cartridge until you remove the protective tape before inserting it. To keep your printer running smoothly after installing a new ink cartridge, remove the protective tape.
Method2: Clean Your Printer
The ink inside an ink cartridge’s tank may have begun to dry out after being kept for an extended length of time. To fix the issue and get the printer to detect the ink cartridge, run a longer cleaning cycle.
On your Epson printer, you should see a button that looks like “Cleaning”; hold down the button for three seconds. To find out how to clean the equipment for a longer period, see the user handbook. Try printing a test page once you’ve finished the cleaning procedure to see whether printing works normally again.
Method3: Reset Your Printer Memory
If the above two methods do not work, then you need to consider resetting your printer’s memory. Check out the steps below as they will guide you through the whole process.
Step1: Take out the new cartridge and put the old one back in. Put down the printer and get something else to do for ten minutes.
Step2: Again, put in the fresh cartridge and replace the old one. If you’ve already followed these two procedures, try restarting your printer and seeing if the problem persists. Still, if you’re stuck after that.
Step3: Take the new cartridge out. Put it somewhere clean and protected from surfaces that might become dirty or scratched before placing the cartridge.
Step4: Press the power button on the printer to shut it down.
Step5: Turn off the power to yours. For certain printers, turning off the power button on the control panel isn’t enough to put them to sleep; you must also do steps 4 and 5 independently. Just let your a few minutes to sit like this.
Step6: Return the printer’s plug to the electrical outlet.
Step7: Put the replacement cartridge in.
Step8: Turn your printer on by pressing its power button.
Method4: Clean Your Printer’s Metal Contacts
The metal contacts, which resemble a flat piece of metal are often visible on one side, the reverse side of an ink cartridge, or a toner cartridge. The procedures are as follows:
Step1: Leave the printer turned off and disconnected.
Step2: Put the toner or ink cartridge aside on a level surface and handle it with care.
Step3: Make sure the cartridge’s metal contacts are clean.
Step4: Look for the connecting place on the printer’s interior.
Step5: Be cautious not to harm the cartridge or contacts as you gently wipe them clean with a dry, lint-free cloth to remove any residue or debris.
Step6: You need to change the printer’s cartridges.
Step7: Turn on the printer again.
Step8: Retry printing.
Any problems you were having with microchips or unclean contacts should now be fixed.
Wrapping Up
We hope that one of the methods shared above in this article has helped you fix the problem you were facing before. However, if the issue still persists, either contact the manufacturer or take your printer to a nearby repair shop. Moreover, if you know any other way to get rid of this issue, enlighten us by sharing it in the comments section below.


Leave a comment